
Hey guys!
So where have I been these last couple of months? Well, I have been lost in the strange and hideous world of the stuff that plagues every teenagers mind.... Yes... the dreaded...
COURSEWORK!!!!!!!
But, I am back and ready to start blogging again :D . I hope you like the new look of the blog and if you want to check out my other social media's, there are now shortcuts in the side bar that you can click on! Be sure to like my facebook page and follow me on twitter, instagram and Youtube!
Today, I decided I would show you how to get my summer goth look! Stupidly, I forgot to take a picture in my full outfit... (DUUUHHH) so when we get to outfit of the day, I will just have to tell you what the items are that I was wearing.
 So I start by just using Simple Face Wipes just to clean any excess 'dirt' off my face. I find it really important to cleanse my face before putting on make-up (especially with the amount of black eyeshadow that comes with being a goth). It gives your face a chance to relax before your cake it with stuff.
Then, it's on to the foundation base. I'm no foundation expert AT ALL so my foundation routine is pretty quick. I've tried a load of really good brands for foundation (MAC and No.7 being my particular favourites) but unfortunately I am skint and had to start looking into some cheaper products. Luckily, my mother found some foundations in the Avon catalogue and was surprised when I found that the foundation was actually really good! It is the Avon Ideal Flawless in Ivory that I now use! The coverage is good, it feels like your face can still breathe and it smells nice! I LOVE A GOOD SMELL IN A MAKE-UP PRODUCT!
Now the big question: SPONGE OR BRUSH??

 BRUSH ALL THE WAY! Hahahahaha! But I don't tend to use specific 'foundation' brushes. I used to use Real Techniques Foundation Brush but I really struggled with it (because I am terrible at even foundation coverage aha) but found that with a blusher and buffer brush I could get the exact coverage that I liked. Weird but I guess that all people have different techniques to get the look they want! The brush I'm using at the moment is the Eco Tools Blush Brush and all I do is squeeze the foundation pump twice onto my hand, dip the brush lightly into the blob and then use little circular movements with the brush on my face to create a smooth and light coverage. I then use the Real Techniques Buffer Brush with nothing on it to just get rid of brush marks! Again, strange but it works for me!
FOUNDATION BASE DONE!


 Next, it's the eyes! I love a good bit of dramatic eye make-up and tbh it is what makes a goth! I start with making the basic shape of the eye make-up. For this look, I didn't want a flick in the eye shadow even though I love having flicks in the eye shadow! I draw straight up and then across above the eye lid and then colour the areas around the eyelid. I do all of this with an angled brush (I use the Eco Tools Angled Eyeliner Brush AND I ADORE IT) and black eye-shadow. The black eye-shadow I use at the moment is the Bourjous Intense Extrait 10. It's okay but it needs a lot of touching up through the day as it flakes a lot.

 After the black, it's time to add a cheeky bit of red to the mix!!! I love the colour red; if I see anything red I usually buy it! However, I really struggled to find a decent red eye-shadow for a long long time but I found one on attitude clothing that I really love and I've used it ever since. It is the Concrete Minerals Pro Matte Eyeshadow in Risque shade. It's gorgeous, it's easy to apply, it smells good and it's light to wear. I HATE it when eye-shadows feel really heavy on the eyelids! For this bit, I like to use a nice fluffy brush (Real Techniques Detailer Brush) and just smoothly run it over the eyelid, taking care to smudge and blend the red into the black. Blending was something that I had to practise and practise and practise over and over again! I was awful at it but once you learn how to do it (and more importantly how to make it suit your own face) it becomes way easier and you find that you can start to experiment with different colours and shapes. The red on its own in this look is a little bit too bright so I get another, larger fluffy brush (I use the Eco Tools Eye Shading Brush) with a little bit of black eye-shadow on and just lightly run it over the top of the red.
 You should start to look a little bit like this:
Excuse my weird facial expressions. It seems to be a thing with me ahahaha.
Now it's onto my favourite bit which I sometimes find the hardest:
EYELINER TIMEEEEEE!!!!
 I have used the Rimmel Exaggerate eyeliner for as long as I can remember. However, it's not the best eyeliner for creating sharp points on the end of eyeliner flicks but it is possible! I start in the inner corner of my eye, draw a neat line across the eyelid then flick it out in a long, straight line with a slight curve at the end. I then go back to the inner corner of my eye and draw a line underneath the eye, being careful to avoid the water line and join the two lines together to create the flick. After the basic drawing, its colouring in basically! I usually colour my waterline in using the Avon GelSHOCK eye pencil but unfortunately I have incredibly sensitive eyes so sometimes I can't colour the waterline because it would make my eyes water like mad!
After styling the hair and getting the outfit together (see below), you should look like this:


OUTFIT OF THE DAY!


Skirt: DIVIDED (H and M) - £12.00
Tights: Ebay - £8.00
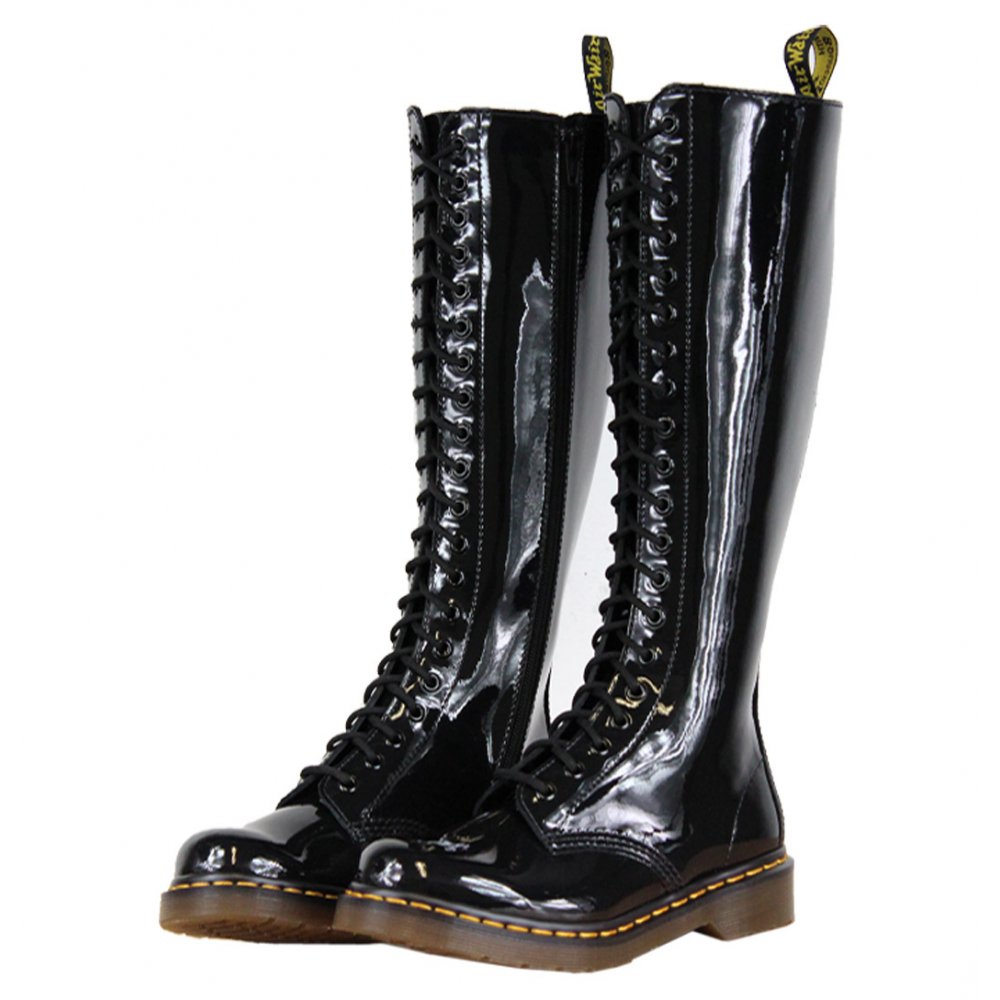
Shoes: Dr. Martens - £130.00
Bandana: Best Days Vintage - £4.00
SONG OF THE DAY! (NEW)
I decided to start giving you guys a song for each post as well! Don't know why but why not!
WE THE KINGS - CHECK YES JULIET

A summery romantic rock song for a summery day!


2 comments
super super cute outfit! that crop top is badass
ReplyDeleteThank you :* xx
Delete